Mastering Raspberry Pi Firewall: Your Ultimate Guide To Secure Networking
Picture this: you're diving into the world of DIY tech projects with your trusty Raspberry Pi, but wait—how do you keep your network safe from prying eyes? Enter Raspberry Pi firewall, the unsung hero of home networking security. If you're like me, you want your Pi setup to be both powerful and secure. In this guide, we'll break down everything you need to know about setting up and managing a Raspberry Pi firewall so you can breathe easy while tinkering with your projects.
Now, let's get real for a second. Firewalls aren’t just for big corporations or tech wizards anymore. With cyber threats becoming more sophisticated, securing your personal devices and networks is more important than ever. A Raspberry Pi firewall is a game-changer for hobbyists and professionals alike who want to take their network security to the next level.
This guide isn’t just another tech article—it’s your roadmap to mastering Raspberry Pi firewall setup, troubleshooting, and optimization. Whether you're a beginner or an advanced user, we’ve got you covered. So grab your Pi, a cup of coffee, and let’s dive in!
- King Of Hill Cast The Ultimate Guide To Your Favorite Animated Crew
- Fox Sports Guide Your Ultimate Companion For Sports Enthusiasts
Table of Contents
- Introduction to Raspberry Pi Firewall
- Benefits of Using Raspberry Pi as a Firewall
- Setting Up Your Raspberry Pi Firewall
- Choosing the Right Firewall Software
- Configuring Raspberry Pi Firewall
- Enhancing Security with Raspberry Pi Firewall
- Common Issues and Troubleshooting
- Optimizing Raspberry Pi Firewall Performance
- Alternatives to Raspberry Pi Firewall
- The Future of Raspberry Pi Firewalls
Introduction to Raspberry Pi Firewall
Alright, let’s start with the basics. A Raspberry Pi firewall is essentially a hardware-based security solution that uses the Pi’s computing power to filter incoming and outgoing network traffic. Think of it as a digital bouncer at your favorite club—only letting the right people (or data packets) in and keeping the troublemakers out.
Using Raspberry Pi as a firewall offers a ton of advantages. First, it’s affordable. You don’t need to spend a fortune on expensive hardware. Second, it’s customizable. With open-source software options, you can tailor your firewall to fit your exact needs. Lastly, it’s a great learning experience. Setting up a Raspberry Pi firewall gives you hands-on experience with networking and security concepts that are valuable in today’s digital world.
Why Raspberry Pi?
So, why Raspberry Pi? Well, it’s small, energy-efficient, and packed with enough processing power to handle basic firewall tasks. Plus, its massive community support means you’ll never run out of resources or tutorials to help you along the way. Whether you’re building a home network or a small office setup, Raspberry Pi is a solid choice for your firewall needs.
- Dr Charles Tv Show A Deep Dive Into The World Of Entertainment And Expertise
- Who Played Rip In Yellowstone Unveiling The Man Behind The Iconic Character
Benefits of Using Raspberry Pi as a Firewall
Now that we’ve covered the basics, let’s talk about the benefits. Using Raspberry Pi as a firewall isn’t just about saving money—it’s about gaining control over your network security. Here are some key advantages:
- Cost-Effective: Raspberry Pi is super affordable compared to commercial firewall solutions.
- Customizable: With open-source software, you can tweak your firewall settings to match your specific requirements.
- Energy Efficient: Raspberry Pi consumes minimal power, making it an eco-friendly option for long-term use.
- Learning Opportunity: Setting up a Raspberry Pi firewall is a fantastic way to deepen your understanding of networking and cybersecurity.
Let’s face it—network security isn’t just for tech experts anymore. With Raspberry Pi, you can take charge of your own security without breaking the bank.
Setting Up Your Raspberry Pi Firewall
Ready to roll up your sleeves and get started? Setting up a Raspberry Pi firewall isn’t as daunting as it sounds. Here’s a step-by-step guide to help you through the process:
What You’ll Need
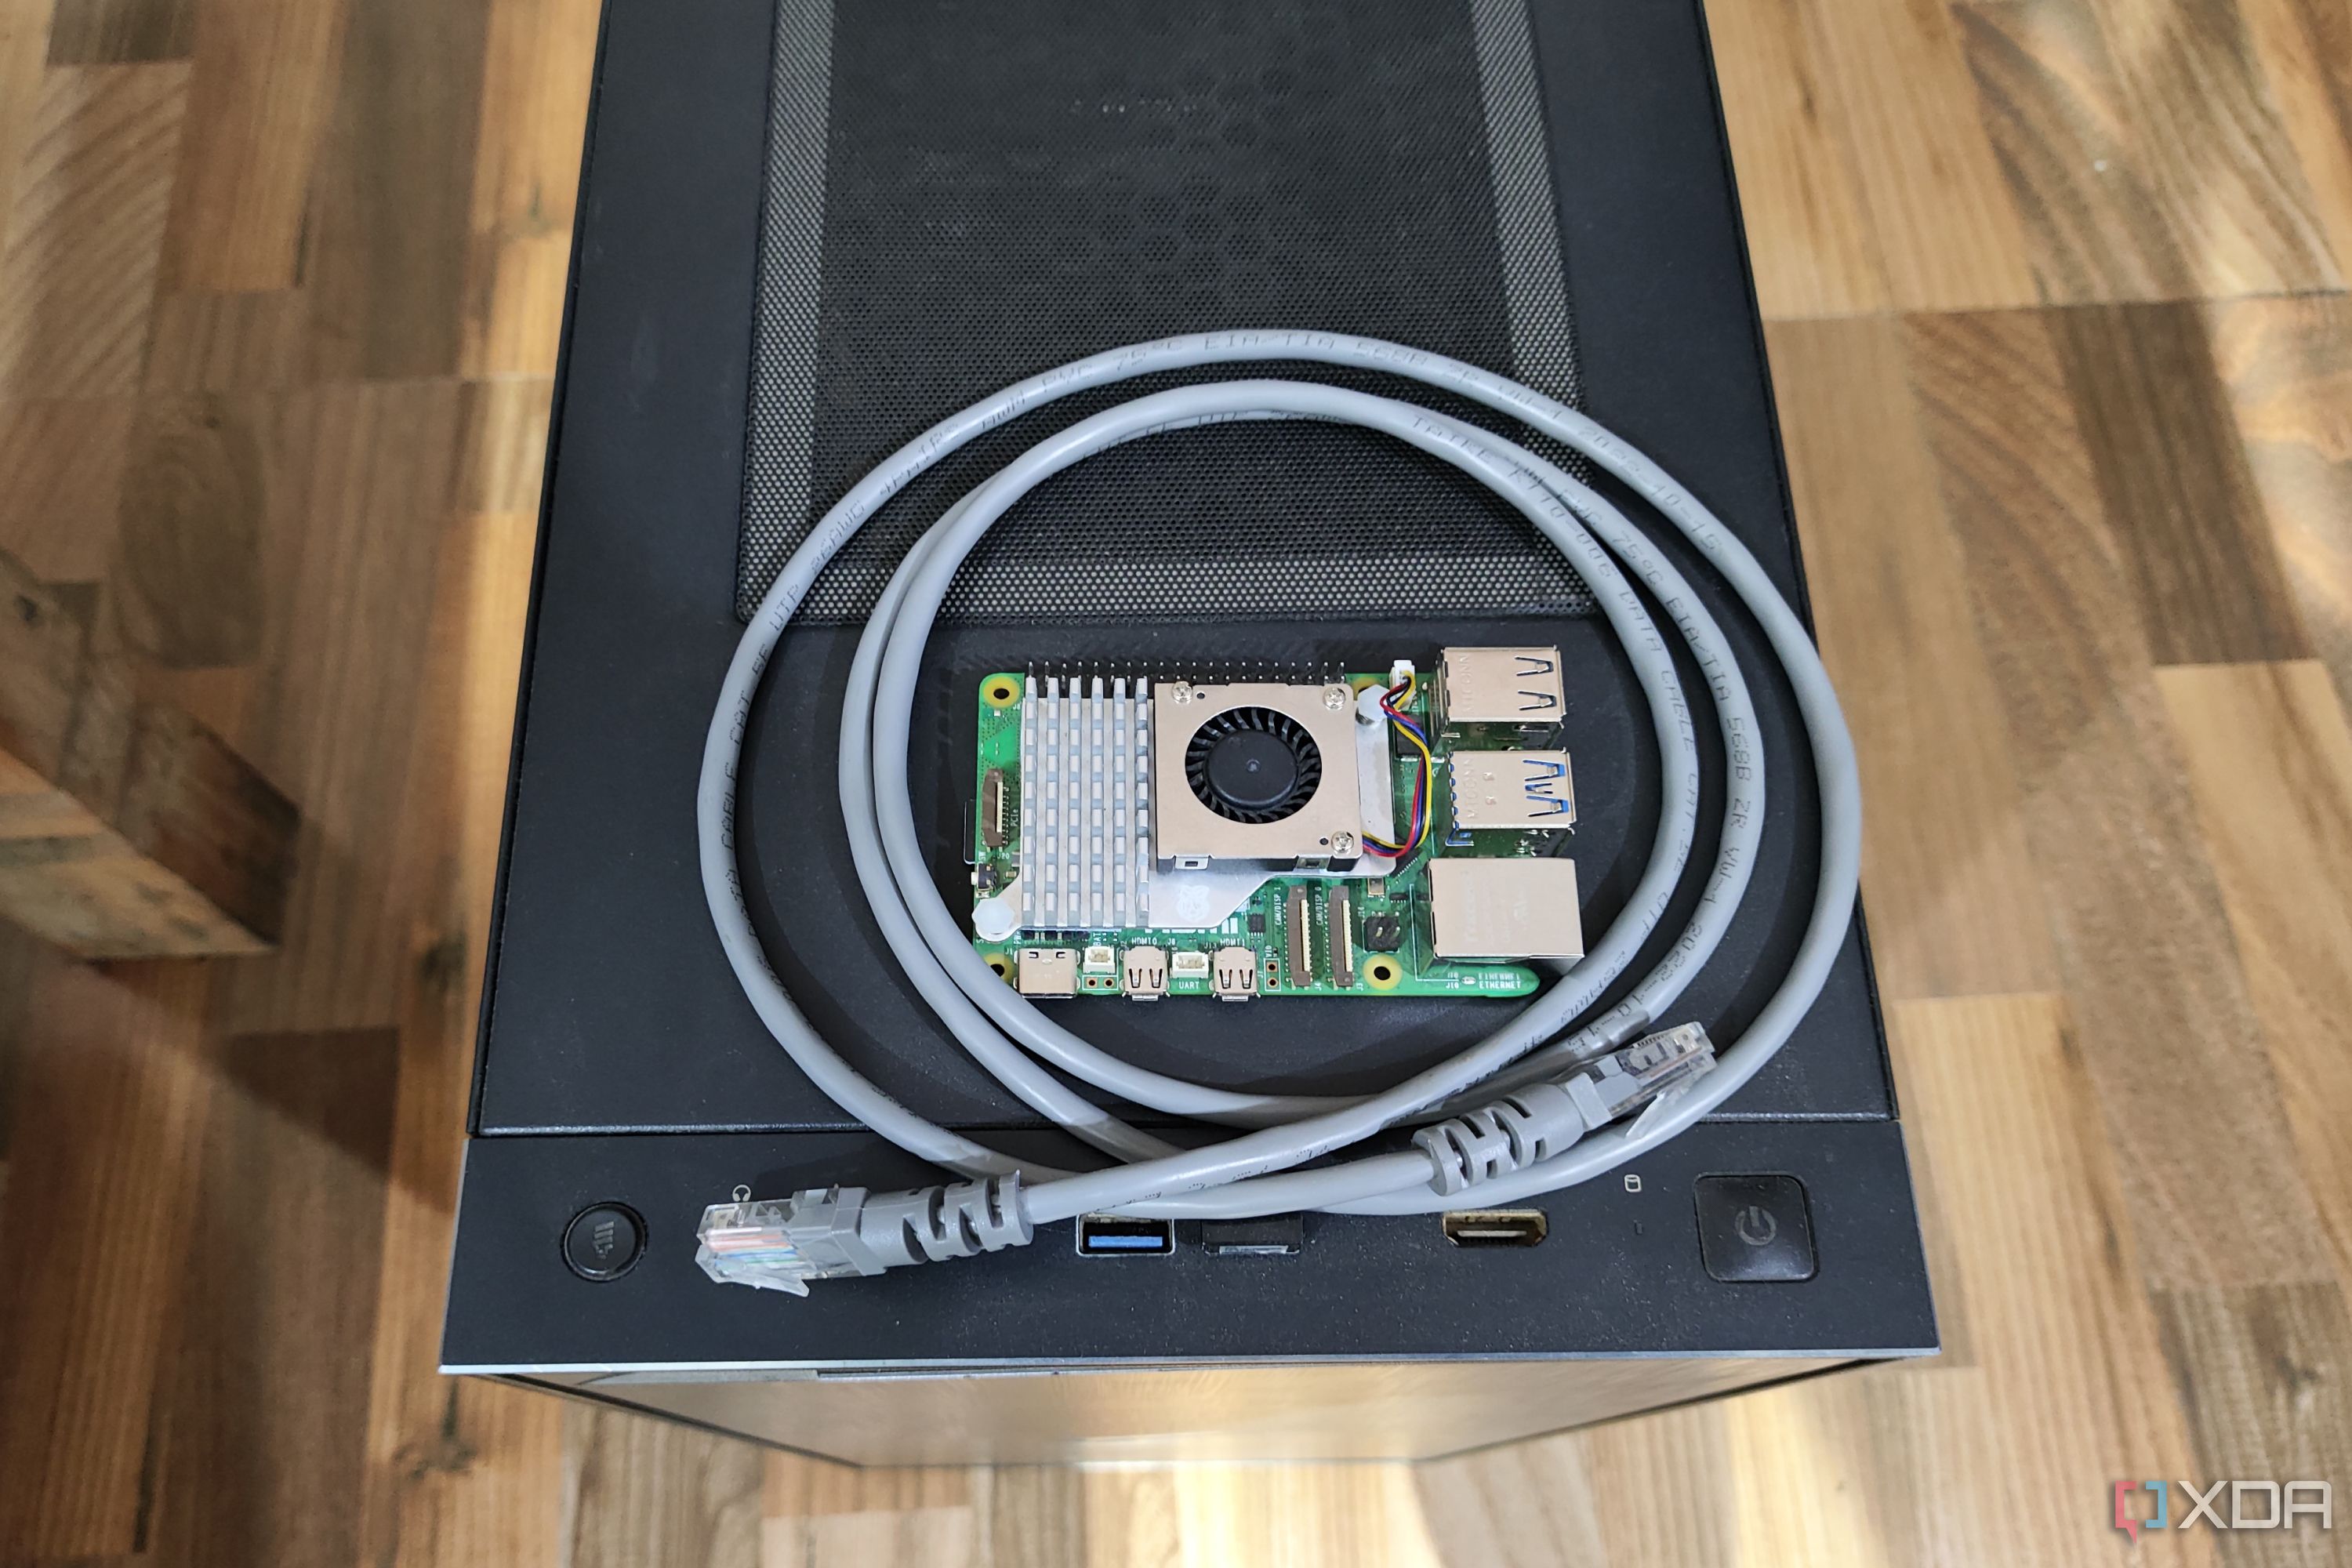
- Raspberry Pi (preferably a newer model like the Pi 4)
- A microSD card with Raspberry Pi OS installed
- A power supply for your Raspberry Pi
- An Ethernet cable (or two, if you’re setting up a dual-NIC configuration)
- A keyboard and monitor (optional, if you’re not using SSH)
Once you’ve gathered your gear, it’s time to dive into the setup. Start by booting up your Raspberry Pi and ensuring it’s connected to your network. If you’re using a dual-NIC setup, make sure both Ethernet ports are properly connected—one for your internal network and one for your external connection.
Installing the OS
Next, install Raspberry Pi OS on your microSD card. You can use tools like Raspberry Pi Imager to simplify the process. Once the OS is installed, boot up your Pi and update the system using the following commands:
sudo apt update
sudo apt upgrade
After your system is up to date, you’re ready to move on to the next step.
Choosing the Right Firewall Software
When it comes to Raspberry Pi firewall software, you’ve got plenty of options. Here are some popular choices:
- iptables: A powerful command-line tool for managing firewall rules.
- pi-hole: Known for its ad-blocking capabilities, pi-hole can also act as a basic firewall.
- pfSense: A robust open-source firewall solution that can run on Raspberry Pi.
- Firewalld: A dynamic firewall management tool that’s user-friendly and easy to configure.
Each option has its own strengths, so the best choice depends on your specific needs. For beginners, pi-hole or firewalld might be more approachable, while advanced users may prefer the flexibility of iptables or pfSense.
Configuring Raspberry Pi Firewall
Configuring your Raspberry Pi firewall involves setting up rules to control network traffic. Let’s take a look at how you can configure your firewall using iptables:
Basic iptables Rules
To create a basic firewall setup with iptables, follow these steps:
sudo iptables -F
sudo iptables -X
sudo iptables -P INPUT DROP
sudo iptables -P FORWARD DROP
sudo iptables -P OUTPUT ACCEPT
sudo iptables -A INPUT -m state --state ESTABLISHED,RELATED -j ACCEPT
sudo iptables -A INPUT -p tcp --dport 22 -j ACCEPT
These commands set up a basic firewall that allows established connections and SSH access while blocking everything else. Of course, you can customize these rules based on your specific requirements.
Enhancing Security with Raspberry Pi Firewall
While setting up a firewall is a great start, there are additional steps you can take to enhance your network security:
- Use Strong Passwords: Make sure your Raspberry Pi and any connected devices have strong, unique passwords.
- Enable Two-Factor Authentication: Add an extra layer of security by enabling 2FA for SSH access.
- Keep Software Updated: Regularly update your Raspberry Pi OS and firewall software to patch vulnerabilities.
- Monitor Logs: Keep an eye on your firewall logs to detect and respond to suspicious activity.
By following these best practices, you can ensure your Raspberry Pi firewall is as secure as possible.
Common Issues and Troubleshooting
Even with the best setup, issues can arise. Here are some common problems and how to fix them:
- No Internet Connection: Double-check your Ethernet connections and ensure your firewall rules aren’t blocking necessary traffic.
- SSH Access Denied: Verify that your SSH service is running and that your firewall rules allow SSH traffic.
- Performance Issues: If your Raspberry Pi is struggling, consider upgrading to a more powerful model or optimizing your firewall rules.
Remember, troubleshooting is all about patience and persistence. Don’t be afraid to dive into the logs or seek help from the Raspberry Pi community if you’re stuck.
Optimizing Raspberry Pi Firewall Performance
Performance optimization is key to ensuring your Raspberry Pi firewall runs smoothly. Here are some tips:
- Limit Rules: Keep your firewall rules concise and focused on what’s necessary.
- Use Caching: Implement caching mechanisms to reduce the load on your Pi.
- Upgrade Hardware: If you’re running a large network, consider upgrading to a more powerful Raspberry Pi model.
By fine-tuning your setup, you can maximize the efficiency of your Raspberry Pi firewall.
Alternatives to Raspberry Pi Firewall
While Raspberry Pi is a fantastic option for a firewall, it’s not the only choice. Here are some alternatives to consider:
- Ubiquiti EdgeRouter: A dedicated hardware firewall solution that’s powerful and easy to configure.
- pfSense on Old PC: If you’ve got an old computer lying around, you can repurpose it as a pfSense firewall.
- Commercial Firewalls: For enterprise-level security, commercial firewalls like Cisco or Fortinet might be the way to go.
Ultimately, the best choice depends on your budget, technical expertise, and specific requirements.
The Future of Raspberry Pi Firewalls
As technology evolves, so does the role of Raspberry Pi in network security. With advancements in hardware and software, Raspberry Pi firewalls will only become more powerful and versatile. Whether you’re a hobbyist or a professional, the possibilities are endless.
So, what’s next for Raspberry Pi firewalls? Only time will tell, but one thing’s for sure—they’re here to stay.
Conclusion
In conclusion, mastering Raspberry Pi firewall is an essential skill for anyone looking to enhance their network security. From setting up your hardware to configuring software and optimizing performance, this guide has provided you with the tools and knowledge to take control of your network’s safety.
Now it’s your turn to take action. Share your thoughts in the comments below, and don’t forget to check out our other articles for more tech tips and tricks. Stay secure, and happy tinkering!
- Gateway Cinema Salt Lake City Your Ultimate Movie Experience
- James Doakes Dexter The Untold Story Of A Complex Character

Firewall On Raspberry Pi 3 Raspberry

Raspberry Pi4 Firewall 12 Steps Instructables
How to protect your home network with a Raspberry Pi firewall
